
Air Duct Cleaning San Antonio, TX
Duct cleaning, sealing, and repair for better air quality, more even cooling, and lower energy bills.
Why Choose Amazing Air?
- ✓ 880+ Google reviews at 4.9 stars
- ✓ Locally owned by Roy Jaramillo since 2008
- ✓ Licensed Texas HVAC contractor
- ✓ Google Guaranteed - background checked
- ✓ Upfront pricing - no surprise invoices
- ✓ Same-day service available
Roy Jaramillo, Owner
San Antonio local since 2008
Your ductwork is the distribution system for your entire HVAC setup, and most homeowners never think about it until something goes wrong. Leaking ducts, dirty ducts, collapsed flex duct, and improperly sealed connections all undermine the performance of your air conditioning system, raise your energy bills, and degrade the air quality in your home. A brand-new, high-efficiency AC system cannot perform at its rated efficiency if the duct system is leaking 20-30% of conditioned air into your attic.
San Antonio's climate creates specific duct system challenges. Attic temperatures can exceed 150 degrees in summer. Flex duct degrades faster in that heat, and duct leaks pull hot, dusty attic air full of insulation fibers, mold spores, and particles directly into your supply system, bypassing your air filter entirely. Homes built between the late 1980s and early 2000s with original flex duct are particularly likely to have duct issues.
Amazing Air Solutions provides professional air duct cleaning, duct sealing, duct repair, and full duct replacement for homes throughout San Antonio. Our team documents duct condition before and after every service so you can see exactly what was done. No scare tactics, no upsell quotas. Contact us at (210) 390-1925 to schedule a free duct assessment.
What Sets Our Air Duct Services Service Apart
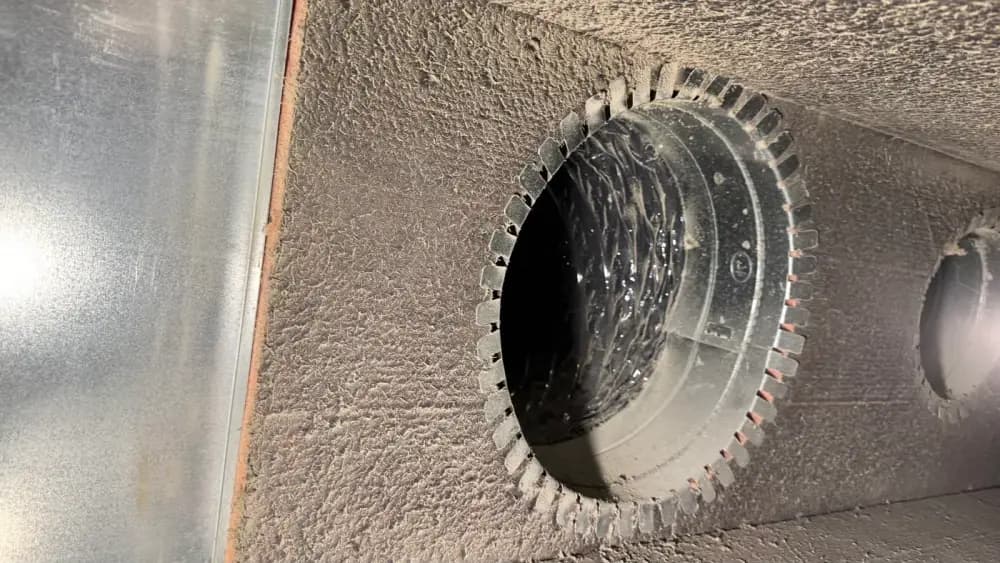
Professional Air Duct Cleaning
Our technicians remove years of accumulated dust, debris, allergens, and biological contamination from your duct system using professional-grade equipment. Thorough duct cleaning restores airflow, improves indoor air quality, and eliminates odors from contaminated ductwork. All improvements San Antonio homeowners notice immediately.
Duct Sealing & Air Sealing
Leaky ducts can cause 20-30% efficiency losses in a typical San Antonio home. Our team locates duct leaks at connections, joints, and register boots, and seals them properly to restore system efficiency, reduce energy bills, and improve home comfort throughout the house.
Duct Repair
Disconnected duct segments, crushed flex duct, and damaged duct liner are all repairable before they require full replacement. We repair accessible duct damage and restore proper airflow to affected rooms and zones.
Full Duct Replacement
Old flex duct in hot attics eventually reaches the end of its service life - the jacket deteriorates, connections fail, and the liner collapses. We replace deteriorated ductwork with correctly sized, properly supported new flex duct or sheet metal as appropriate for your system.
Airflow Balancing
Hot and cold spots in rooms that were previously comfortable are often a sign of ductwork problems - collapsed sections, closed or blocked dampers, or undersized branches. We diagnose airflow imbalances and correct the underlying duct issues.
Duct Inspection & Assessment
We inspect your accessible ductwork and attic duct runs before recommending any service. If your ducts are in good condition, we will tell you. If they need cleaning, sealing, or repair, we will document the specific findings and quote the work clearly.
Before & After Documentation
We document duct condition before and after service with inspection findings so you have a clear record of what was found and what was done. This documentation is valuable for insurance purposes and home resale.
Honest Assessments - No Scare Tactics
Duct cleaning is sometimes sold aggressively using scare tactics about contamination or efficiency losses that may not apply to your home. Our professionals give our customers an honest assessment of their specific duct system's condition. If cleaning or repair will genuinely benefit your home, we will show you why. If it will not, we will tell you that too. That is how a reliable San Antonio HVAC company treats people.
Ready to get started? Call Roy's team today.
Same-day appointments available across San Antonio.
Common Questions About Air Duct Services in San Antonio
How often should air ducts be cleaned in San Antonio?
The EPA recommends duct cleaning when there is visible mold growth inside ducts or on air handling components, evidence of rodent or pest infestation inside the duct system, or significant debris buildup that is visibly restricting airflow. For most San Antonio homes without those specific conditions, duct cleaning every 4-6 years is reasonable - particularly for homes with allergy sufferers, pets, recent renovation work, or systems that have not been cleaned since original installation.
How do leaky ducts affect my air conditioner's efficiency?
Significantly. Supply air leaking into your attic means your air conditioning system is conditioning space you are not trying to cool, and that conditioned air is replaced by hot attic infiltration that kills home comfort. Studies show duct leakage of 20-30% efficiency loss is common in San Antonio homes with older flex duct systems. Sealing those leaks can meaningfully reduce your monthly energy bills without any equipment upgrade.
What are signs I need duct repair or replacement in San Antonio?
Hot or cold spots in rooms that were previously comfortable, rooms that take significantly longer to reach temperature than others, unusually high energy bills compared to similar homes, musty or dusty odors from vents, visible damage or disconnections in accessible ductwork in attic or crawlspace, or rattling and noise from ductwork during system operation.
Can dirty or leaky ducts cause indoor air quality problems?
Yes. Duct leaks in the attic pull in air that contains insulation fibers, dust, mold spores, and other contaminants. This air bypasses your filter entirely and enters your living space. Over time, contaminated ductwork can contribute to allergy symptoms, musty odors, and respiratory irritation that improves when you leave the home. Thorough cleaning and sealing addresses both issues.
How long does air duct cleaning take in San Antonio?
A standard air duct cleaning for a typical San Antonio home takes two to four hours depending on the size of the system and the level of contamination. Duct repair or replacement jobs vary based on the extent of work needed. We will give you a time estimate when we assess your system.
How much does air duct cleaning cost in San Antonio?
Professional air duct cleaning for a typical San Antonio home typically ranges from $300 to $600 depending on system size and accessibility. Duct sealing and repair are quoted based on the specific findings. We provide free written upfront pricing before any service begins so our customers know exactly what they are paying for. Be cautious of very low price offers for duct cleaning - they often involve limited scope or high-pressure upsells once inside your home.
Locally Owned · 875 Reviews · 4.9 Stars
Ready to Schedule Your Air Duct Services?
Call Roy's team directly - same-day service available across San Antonio.